Custom Countertops Built for Cooking: Grooves, Trivet Rods and Inset Slabs
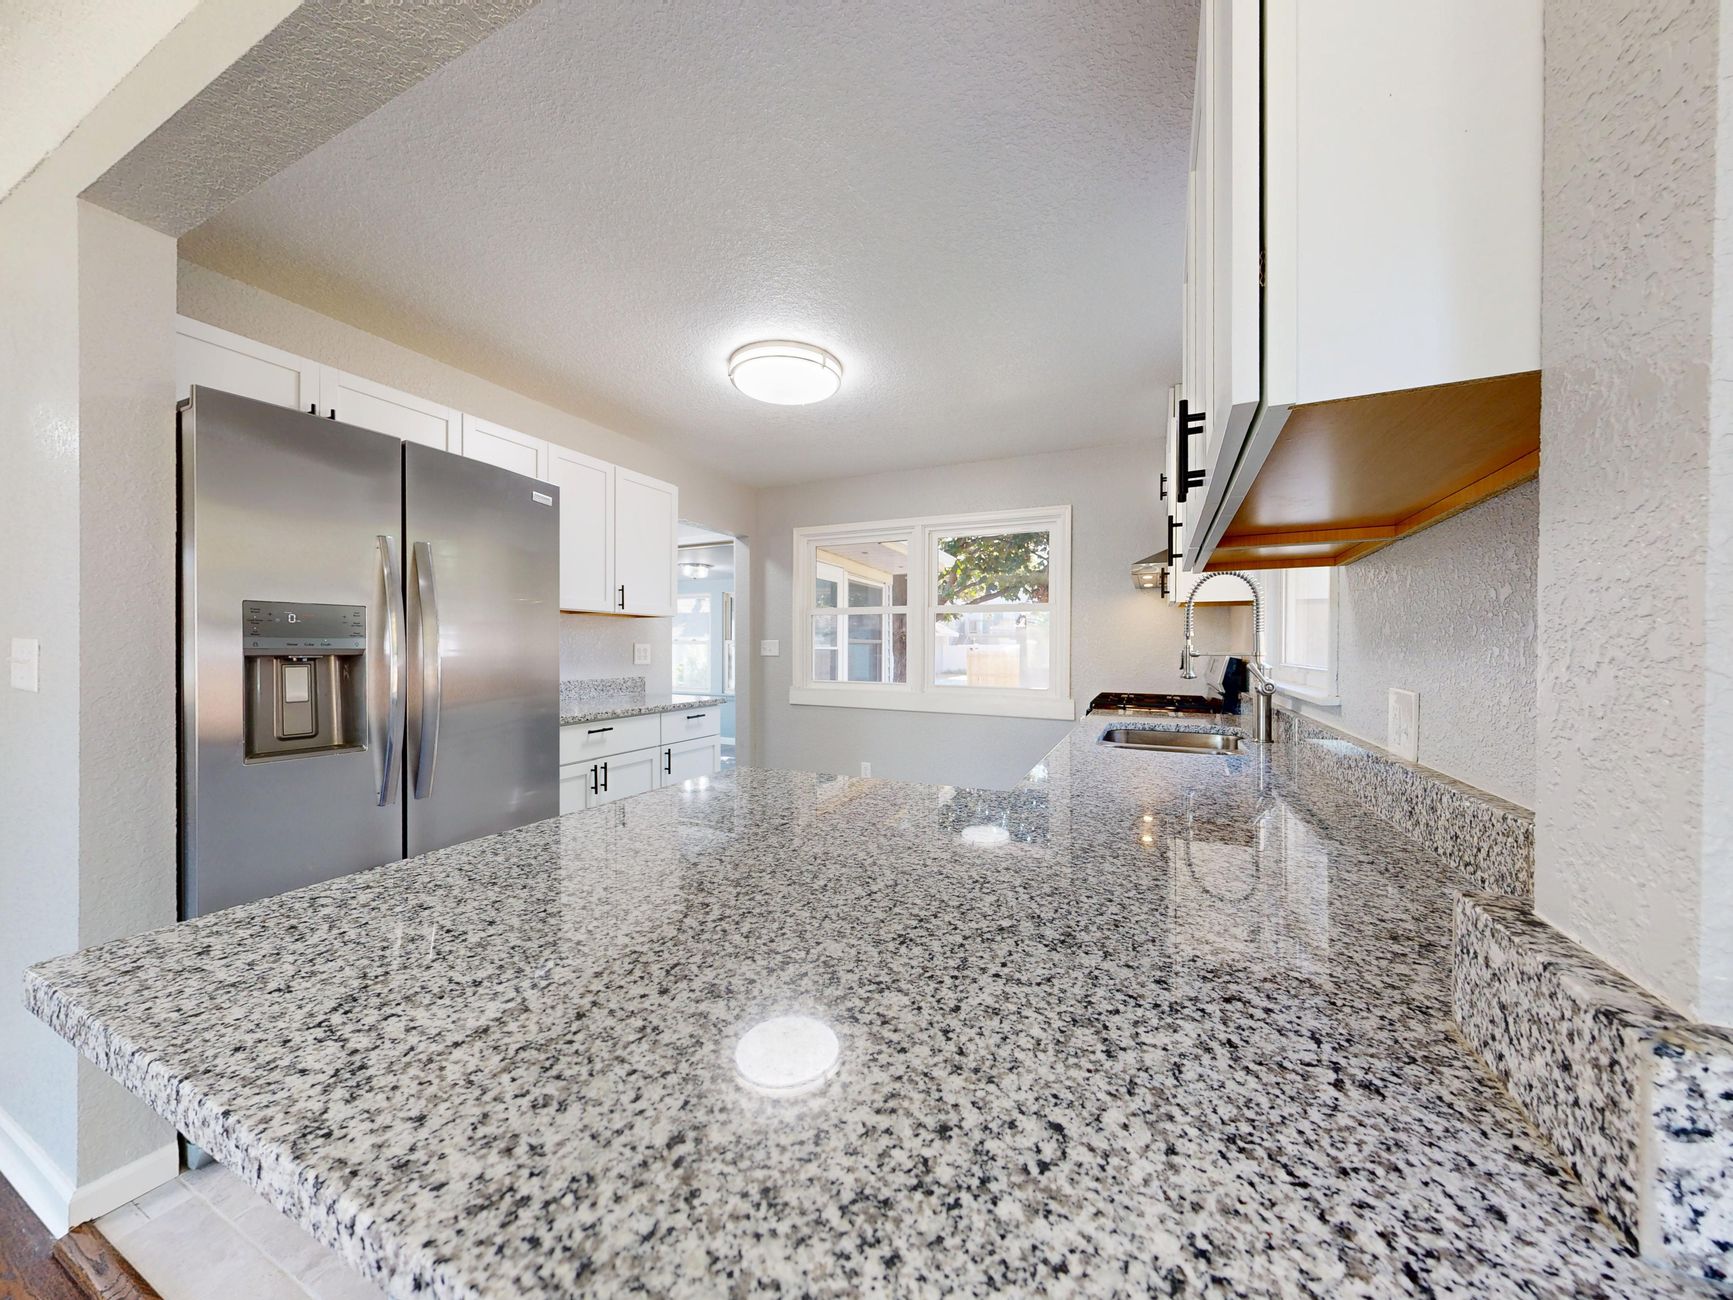
A countertop is the only large tool in a kitchen that gets manufactured once and then never adjusted again. A stove can be swapped out, a knife can be sharpened, a pan improves with use. A stone top arrives at its final dimensions with every hole already in it, and from that morning onward the only things you can change are the things you set on top of it.
That matters more if you cook alone and cook often. Someone feeding themselves most nights builds up a private list of small repeated frictions: the colander dripping onto a flat surface with nowhere for the water to go, the lid off a simmering pot with no clean place to rest, dough that slackens because the counter under it is warm, the pan that comes off a burner while both hands are busy. None of that is fixed by choosing a better looking slab. Some of it can be fixed by asking a fabricator to cut or build something into the surface while it is still a rectangle in a shop.
These features rarely come up in a showroom, where the conversation runs on colour, thickness and edge profile. If you are shortlisting shops for custom countertops in riverside, or anywhere else, the more useful question is which of the details below they have actually made before, because almost all of them are questions of tooling, shop time and nerve rather than of material. A shop that has cut drainage grooves many times will talk about slope without being prompted.
Drainboard grooves, and what separates a good one from a puddle
Drainboard grooves, sometimes called runnels, are shallow channels milled into the top surface beside a sink so that a wet dish or a rinsed colander drains into the bowl instead of onto the counter. They are an old detail, older than engineered stone, and they are still the single most useful thing you can have cut into a kitchen surface if you wash up by hand.
They are cut in the shop with a router or a profiled wheel, usually three or four parallel channels running from the far edge of the drainage area toward the sink cutout. Depth is modest, on the order of an eighth of an inch, with a rounded bottom rather than a square one. A square bottomed groove is harder to clean and puts a sharp internal corner into the material, which is exactly the geometry that concentrates stress.
The slope is the feature, the grooves are just where it shows
This is the part that gets skipped, and it is the reason a lot of drainboards do not work. Water does not move because there are channels for it. It moves because the surface is not level.
For the grooves to drain, the whole drainage field has to fall toward the sink. A small, consistent fall across the area is enough, and it is achieved either by milling the field slightly deeper as it approaches the bowl or by setting that section of top with a deliberate tilt. Cut flat grooves into a flat counter and you have made four small reservoirs that hold water until it evaporates, which in a hard water household means four narrow strips of mineral scale.
Two consequences follow, and neither is a reason not to do it. The drainage area is no longer flat, so a cutting board or a mixing bowl set down on it will rock. And the fall has to point at something: with an undermount sink the water runs off the stone straight into the bowl, while a drop in sink with a raised rim stops it, so the grooves want to end short of that rim rather than at it.
Which materials take grooves well
Granite, quartzite and soapstone all take grooves well. They are cut as solid material through their full depth, so the inside of a groove is the same stone as the top.
Engineered quartz can be grooved and often is. The thing to know is that the inside face of the channel is a cut face, not a factory face, so it will not match the top surface unless the shop polishes or hones it to match. On a light, plain colour this reads as a slightly different tone down each channel. On a busy pattern nobody notices.
Marble is the awkward one. The grooves themselves are fine, but the drainage area beside a sink is where lemon juice, wine and vinegar end up, and etching in the bottom of a narrow groove cannot be polished out by hand the way an open area can.
The materials that genuinely resist grooving are the thin ones. Sintered stone and porcelain slabs are often supplied at thicknesses where removing an eighth of an inch is a large fraction of the panel, and a laminated build up at the edge does not help in the middle of the field. Ask, rather than assume, and ask before the slab is chosen.
Cleaning them, honestly
Grooves trap what a cloth glides over. A wipe with a sponge cleans the flat surface and skims the channels. They want a soft brush every week or so, and in a hard water area they want drying after the last wash of the day, because the last thing to evaporate in a channel is whatever minerals the water carried.
That is the honest limit of the feature. It is a real convenience for someone who hand washes daily, and it is a small chore for someone who mostly runs a dishwasher and would be better off with an uninterrupted surface.
The recessed drainboard, a deeper version of the same idea
Instead of channels in a flat field, the whole drainage area is milled down into a shallow dished recess with a raised lip around it, falling toward the sink. It is the detail you see in old stone sinks and in fabricated stainless.
It holds more water than grooves and keeps it contained, which is the point if you regularly drain something genuinely wet. It costs more material depth, so it wants thicker stone, and it wants a shop with a machine that can mill a large shallow pocket accurately rather than a person with a hand tool.
The compromise between the two is a shallow recess with grooves cut into it. More effective than either on its own, and the most shop time of the three.
Stainless trivet rods set into the counter beside the cooktop
This one solves a specific problem for a specific person: the cook who takes a pan off a burner with a full hand and puts it down at arm’s length without looking.
The detail is a set of short stainless rods bedded into parallel channels routed into the surface beside the cooktop, running flush or a fraction proud of the stone. A pan set across them bridges on metal, with a thin layer of air underneath.
Two honest caveats. First, it reduces heat transfer into the surface, it does not eliminate it, because a skillet straight off a high flame still radiates into the material around and below the rods. On engineered quartz, whose resin binder is the vulnerable part, a rod inlay is a mitigation rather than a licence. Second, fat and liquid run under the rods and sit in the channel beneath them. Rods set permanently in epoxy cannot be lifted to clean under; a set made to lift out can be, and is worth specifying if you cook with oil at high heat.
Placement matters more than the inlay itself. The rods belong where your hand naturally goes, which for most people is the side of the cooktop matching their dominant hand, at the same height, with nothing to step around.
An inset slab of a cooler stone
A panel of marble or soapstone let into a run of quartz or granite gives you a cool, dense, smooth area for pastry and chocolate without committing the whole kitchen to a material that etches.
Done properly the insert is the same thickness as the surrounding top, set into a milled rebate, and bonded with a colour matched adhesive so the joint is a fine line rather than a trench. A shallow insert bonded on top of the counter is a different and worse detail, because the raised edge catches everything and the joint around it collects flour paste.
Three things to settle before it is cut. The joint between two different materials is a real seam and will be visible, so agree where it falls and how wide it reads. The insert should be sized for what you actually do, and most people need less area than they imagine, because rolled pastry occupies a surprisingly small footprint. And marble in a busy kitchen will etch at its edges from splashes travelling across the joint, which is normal behaviour rather than a defect.
The zero commitment alternative deserves saying out loud: a loose slab of marble kept in a cupboard does the same thermal job, can be chilled in a refrigerator beforehand, which a fixed insert cannot, and costs nothing at fabrication. Plenty of serious bakers end up preferring it.
A section set lower for dough
Kneading and rolling are the two kitchen jobs where the standard counter height is plainly wrong, because both want you pressing downward with straight arms rather than pushing forward from the shoulders. A useful private test is to stand at a counter and let your hands rest flat on it. If your elbows are bent sharply, the surface is too high for dough.
As a fabrication question this is simple and permanent. A lower section is a separate piece of stone with a vertical transition to the piece beside it, and how that transition is handled is decided before anything is cut. It only earns its place if you use it weekly; somebody who bakes twice a year is better served by a board.
What can be added afterward, and what cannot
Almost nothing here can be retrofitted. Grooves, recesses, rebates and routed channels all remove material from a panel that is already installed, already carrying its own weight across cabinets, and already holding cutouts that concentrate stress. Cutting into a fitted top is how cracks start, and a shop that agrees to do it is taking on a risk that belongs to you.
What can be added later is anything that sits on the surface. A rack, a board, a loose stone slab, a metal trivet, a drainer mat. That is the correct way to think about the decision: work out which frictions you hit several times a week, fix those in the stone, and let everything else stay portable.
Write the list from your own cooking rather than from a catalogue. Stand in the kitchen you have, run through an ordinary evening in your head, and note the three moments where you wish the surface itself were doing something. Those three are worth the shop time. The rest are worth a drawer.
Need help in Riverside?
Call (951) 686-9532