Custom Countertop Installation for Cooks: What to Settle Before the Slab Arrives
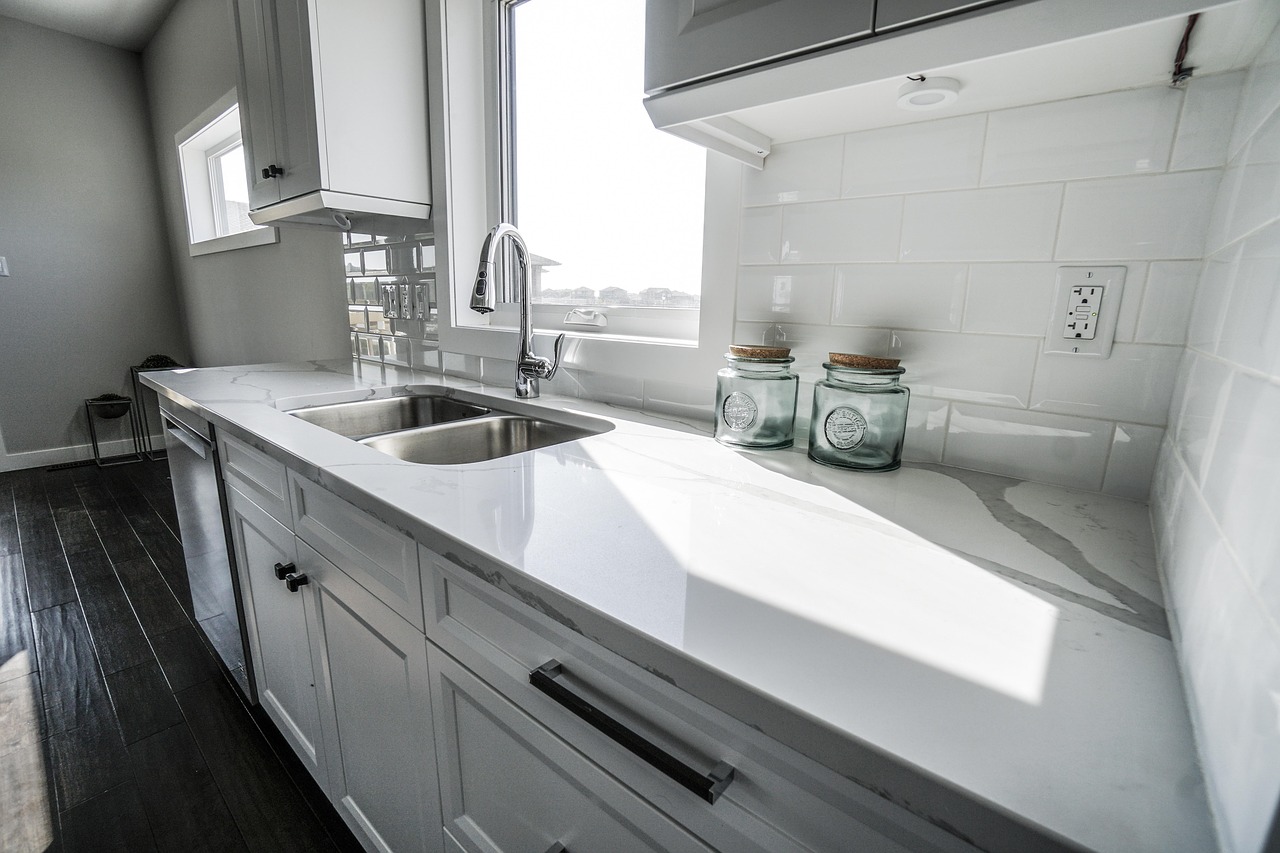
A countertop is the surface you will chop on, knead on, set hot pans near and spill across for many years, so a custom countertop installation should be judged by how it cooks, not by how it looks in a showroom. Color matters less than most people expect. What decides whether you love the kitchen in year five is mostly settled before the slab ever leaves the shop.
That is good news, because those choices are cheap to make early and painful to reverse late. They come down to the cabinets underneath, the fixtures going into the stone, where the seams land, and how you actually use the room.
If you are planning a new top and sink installation as one project, sequence matters more than material. Stone is cut to a template, the template is taken from whatever is physically in your kitchen that day, and every surprise after that point costs time. Get the room ready first, and the rest goes quietly.
Start With What the Stone Will Sit On
Check the base cabinets for level and flatness in both directions before anyone templates a top. Many kitchens in Riverside sit in mid-century ranch tracts, where decades of floor settling and patchwork remodels leave runs of cabinets out of level. A long stone top is stiff. It will not flex to follow a dip, and asking it to bridge one is how hairline cracks begin.
Shims under the cabinets cure the problem. A straightedge and a level laid across the boxes in a few spots will tell you most of what you need to know. If the installer or fabricator flags a level issue, take it as a good sign rather than an upsell.
Finish the Cabinets Completely First
Template only once the cabinets are fully installed and fastened. If a box gets moved or re-shimmed after the template is made, the slab may no longer fit the opening it was cut for. That is the most common reason a custom job slips by a week or more.
Plan the Plumbing Disconnect
Shut off and disconnect the plumbing before the old tops come off, and book a plumber to reconnect the faucet, drain, disposal and dishwasher line afterward. Older Riverside homes sometimes have galvanized or corroded shutoff valves that fail the moment someone turns them. With the sink out and the cabinet empty, swapping those valves is as easy as it will ever be.
Bring the Real Fixtures to the Template
Have the actual sink, faucet and any soap dispenser or air gap on site when the template is made. Fabricators cut the sink opening and drill faucet holes from the physical fixtures, not from a catalog drawing. A catalog dimension that is slightly off turns into a gap you will see every day.
Settle the faucet hole count and placement before fabrication. Adding a hole later in stone or quartz can be done, but it is riskier and messier than drilling it cleanly in the shop. If you are undecided about a side sprayer or a filtered water tap, choose now.
The same rule covers the cooktop or range. The cutout has to match the appliance model exactly, and the manufacturer specifies clearances to nearby surfaces. Keep the spec sheet handy, or have the appliance in the room at templating.
How an Undermount Sink Should Be Held
An undermount sink should be held to the stone mechanically, with clips or brackets anchored into the underside, and then sealed with silicone. Adhesive on its own tends to let go over time, especially under a basin full of water and dishes. Silicone is a seal, not a structural connection, and it should never carry the weight alone.
Heavy fireclay and cast iron sinks also benefit from support from below, such as a cradle or rails fastened to the cabinet. Picture what a full sink weighs once you add water, a stockpot and a stack of plates, then ask who is carrying that load.
Details Worth Asking About
- Inside corners of the sink cutout should be rounded. Sharp square corners concentrate stress and often start hairline cracks.
- The rim sealant should be pure silicone rated for kitchen and bath use. Painter's caulk and acrylic blends shrink, crack and grow mildew at a wet joint.
- Ask the installer how long to wait before loading the sink or running heavy use. Adhesives and silicone need time to cure, and a rushed first day undoes careful work.
If your plan involves laminate, know that it is a poor match for an undermount sink unless the product is specifically designed for it. Water reaches the particleboard core at the cut edge, and the core swells. A drop-in sink is the standard choice there.
Ask Where the Seams Will Fall
Ask to see the seam layout before anything is cut. A seam right at the sink edge, or across a narrow strip in front of the sink, is a weak spot and a water trap. A good layout puts seams in the plainest, best supported places, away from the sink and cooktop cutouts where the stone is already thinnest.
Be realistic about what a seam looks like. A skilled fabricator can make one tight and quiet, but seams cannot always vanish, particularly in veined or strongly patterned material. Hearing that up front prevents a disappointing walk-through.
Overhangs, Dishwashers and the Hidden Hardware
If you want a seating overhang, ask about support. Past a modest depth, stone needs hidden steel or corbels, and the right depth depends on the material and thickness. A thicker slab does not remove the need for support, so ask the fabricator rather than guessing.
A dishwasher under stone calls for a different approach too. You cannot screw it into the underside of the top the way you can under laminate. The usual answers are side mount brackets into the neighboring cabinets, or a mounting kit made for stone tops.
This is earthquake country, as well. Heavy tops and backsplash panels should be properly bonded to the cabinets and wall, not just resting on them. Tall slab backsplashes in particular need secure attachment, and it is fair to ask how the installer handles it.
Every Surface Has a Habit Worth Knowing
Every surface has a habit that a cook will meet sooner or later. It is easier to choose with that in mind than to learn it from a stain.
Granite and Other Natural Stone
Natural stone is porous to varying degrees and usually needs periodic resealing. Granite is not maintenance free. To check, put a few drops of water on the surface near the sink. If the stone darkens within a few minutes, it is time to reseal.
Marble
Marble etches from tomato, citrus, wine and vinegar even when sealed. Sealer slows staining but does not stop etching. If you want a pristine look and cook with acid often, think hard before choosing it, or accept that a soft, lived-in patina comes with the stone.
Quartz
Quartz is resin bound, and high heat can scorch or discolor it. Use trivets for pans straight off the burner or out of the oven, and keep slow cookers and air fryers on a board. It is durable, but it is not heatproof.
Butcher Block
Wood dries out quickly in Riverside's dry heat and Santa Ana wind spells, then swells near a wet sink. Oil it more often in the dry months, seal the end grain and the sink cutout edges well, and keep standing water off the surface.
Sun, Hard Water and Daily Habits
Strong inland sun through west or south facing windows can fade or yellow some quartz and dark stone over the years. Long, bright inland summers make this a real factor for a sunny window wall. Ask about UV stability, and consider shades if the counter sits in direct light for hours.
Hard water is the other local reality. It leaves a white mineral crust around faucet bases, drains and the sink rim. Wipe the area dry after use, and clean with a pH neutral stone cleaner. Vinegar and lemon are not safe on every surface, because acids dull and etch marble, limestone and travertine and can wear down some sealers. A faucet and layout that are easy to wipe around pay off every week.
Signs That Something Is Wrong Later
Catch trouble early, because water moves quietly. Watch for:
- A hairline gap opening between the sink and the stone.
- Water dripping or staining inside the sink cabinet.
- A sink that sags or shifts when the basin is full.
- A seam that lifts, chips or collects grime.
Water traveling along a failed sink joint can damage the cabinet floor before anything shows on top. A quick flashlight check under the sink every few months is a small habit that protects the whole installation.
Six Steps in the Right Sequence
- Level and fasten the cabinets, and replace tired shutoff valves.
- Choose the sink, faucet, accessories and appliances, and have them on site.
- Confirm hole counts, cutout corners and the seam layout.
- Template, fabricate and install, with proper support for overhangs and the sink.
- Let the sealant and adhesive cure before heavy use.
- Set up simple routines: trivets, dry wipes near the faucet and a seasonal water test.
Done in that order, a custom countertop installation becomes a calm few days instead of a string of corrections. The stone only has to do one thing well, which is stay put and stay sealed while you cook on it.